September 16, 2014
Today,
the National Science Foundation (NSF) launches its Community College
Innovation Challenge. In this
contest, NSF is challenging students enrolled in community colleges to
propose innovative science, technology, engineering and mathematics
(STEM)-based solutions to perplexing, real-world problems. An incentive:
Teams submitting top ideas will receive professional
coaching and cash prizes.
Create a 3D Scribble Page!!

Change to the 3D Modeling workspace:

Notice the new ribbon:

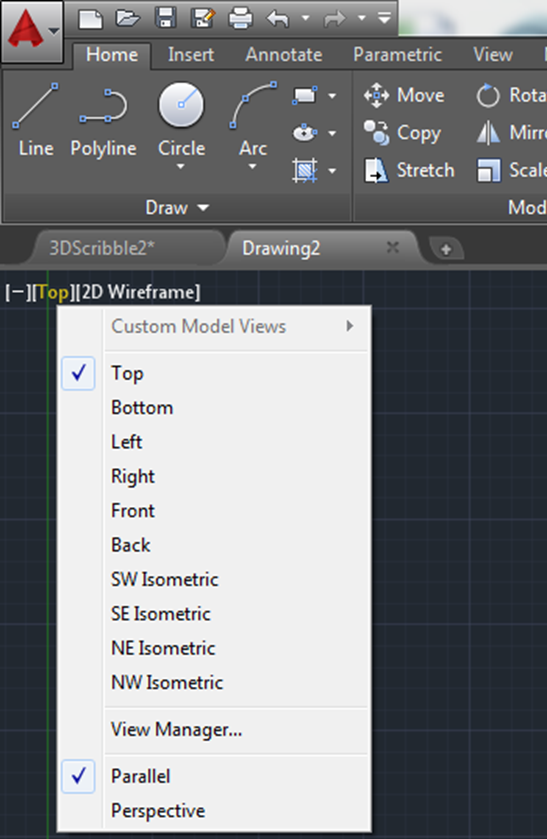
Use your viewcube and view menu, to change views, or shift + hold down mouse wheel


Try out the extrude command, just watch the command line and follow what it asks you to do!

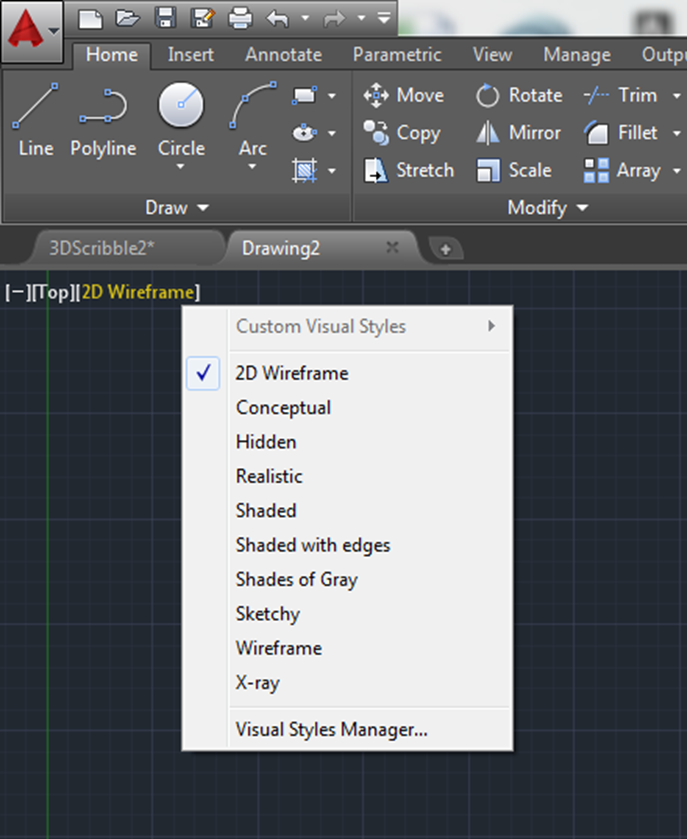
Play around with some of the drawing tools & different views (wireframe, realistic, etc.)
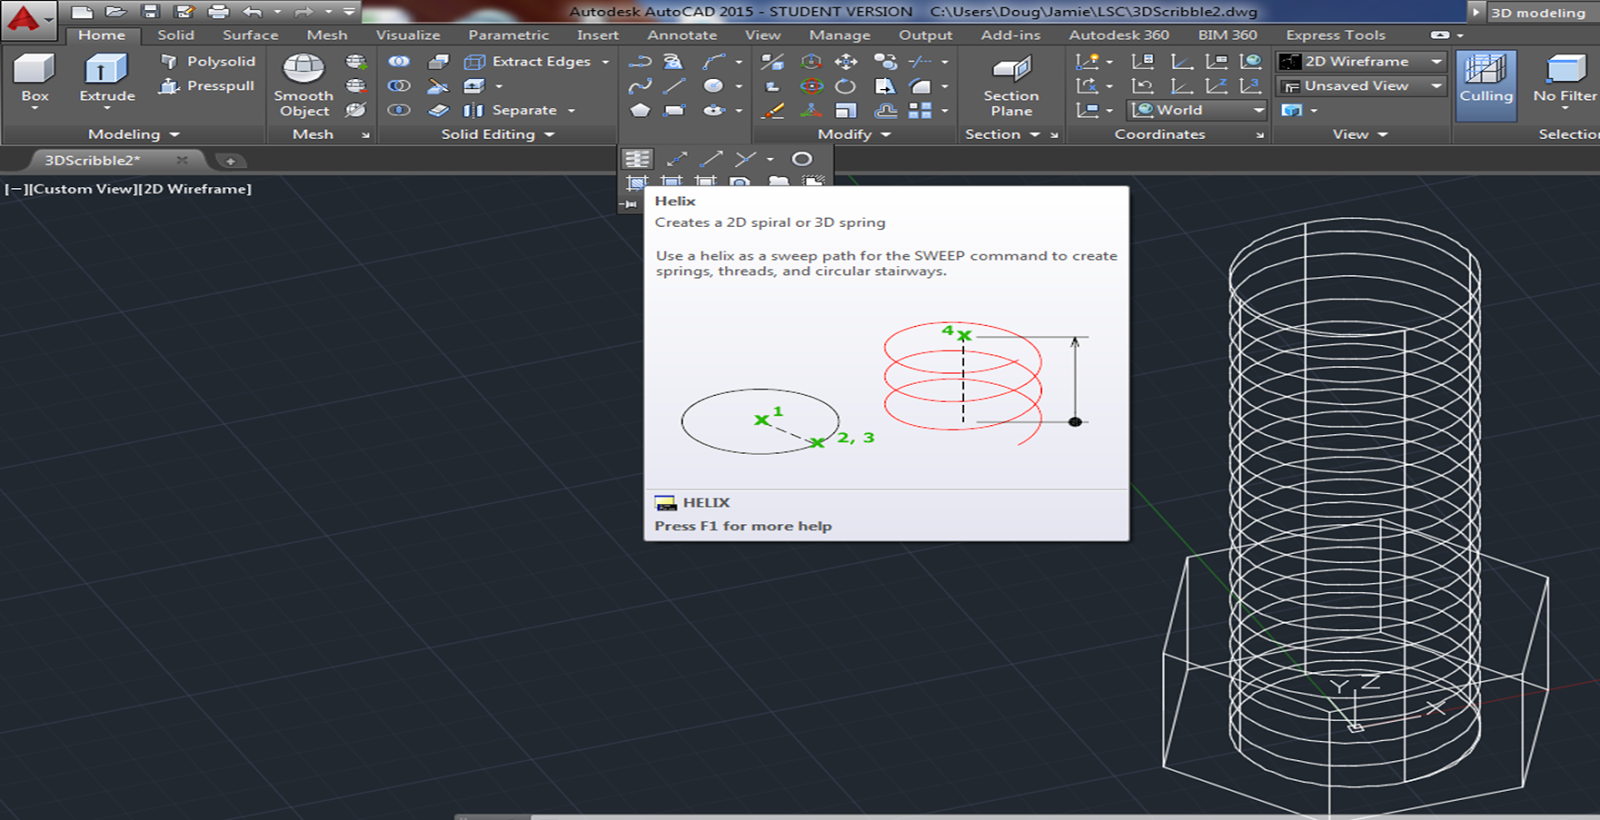
Create a Helix:
I'm going to draw a circle to sweep along the helix,
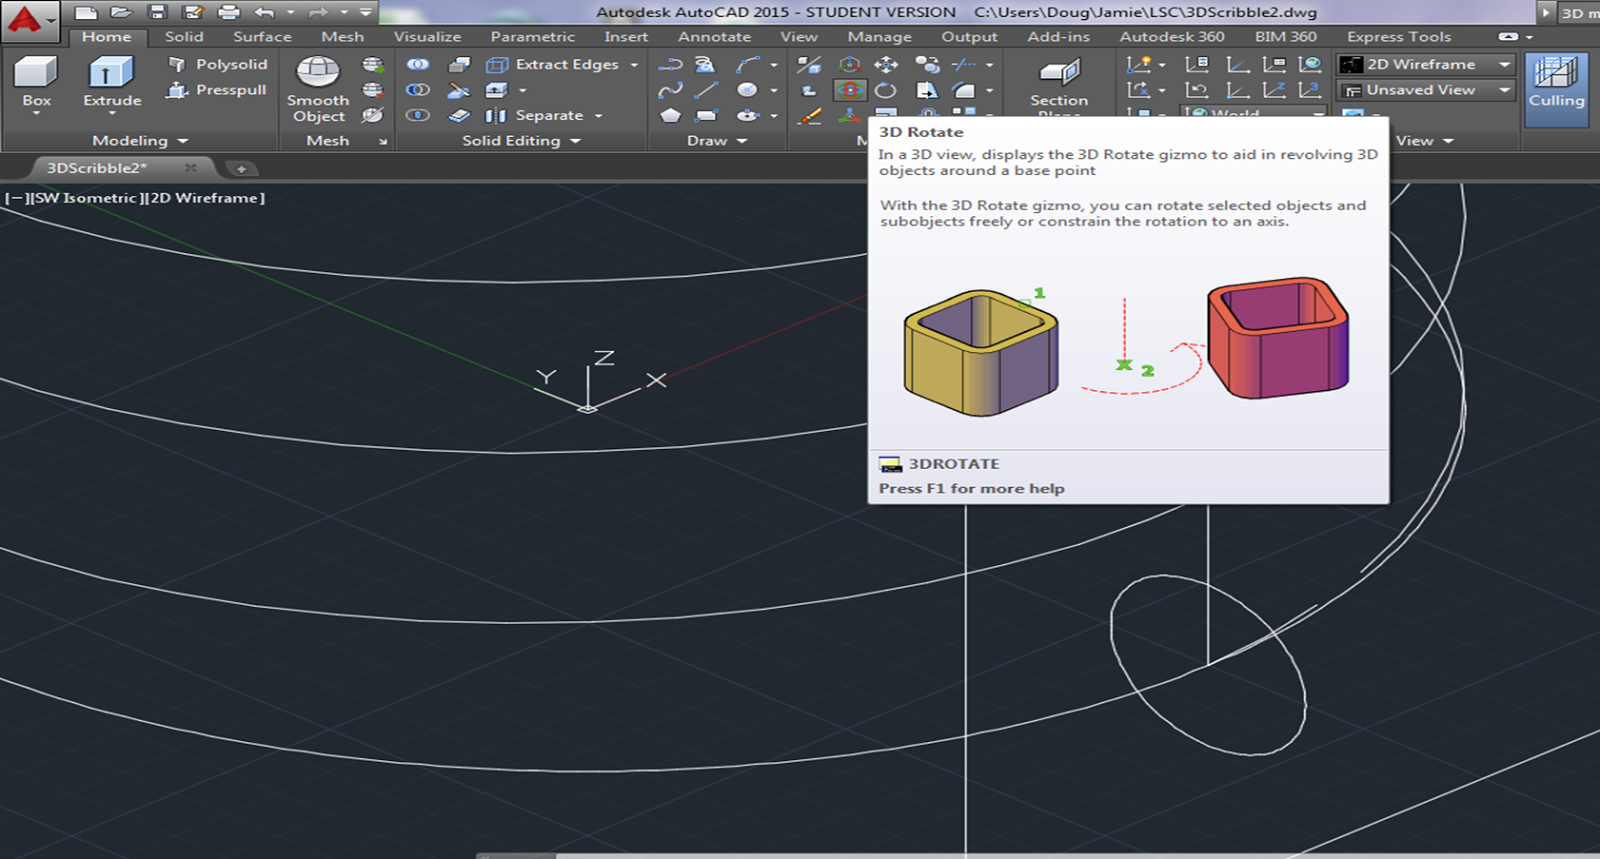
Modify → 3D rotate, 90° and centered at the end of the helix:
Now, use the sweep command - just read the instructions at the icon, and pay attention to the command line!

Type SUBTRACT, select the cylinder <enter> select the helix <enter>
cylinder - helix =


COPY:

bolt <SUBTRACT> screw:
Under Modify -


Under Modify -
Create a CONE

INTERSECT

Select cone and bolt

FILLETEDGE

Try out the REVOLVE command!

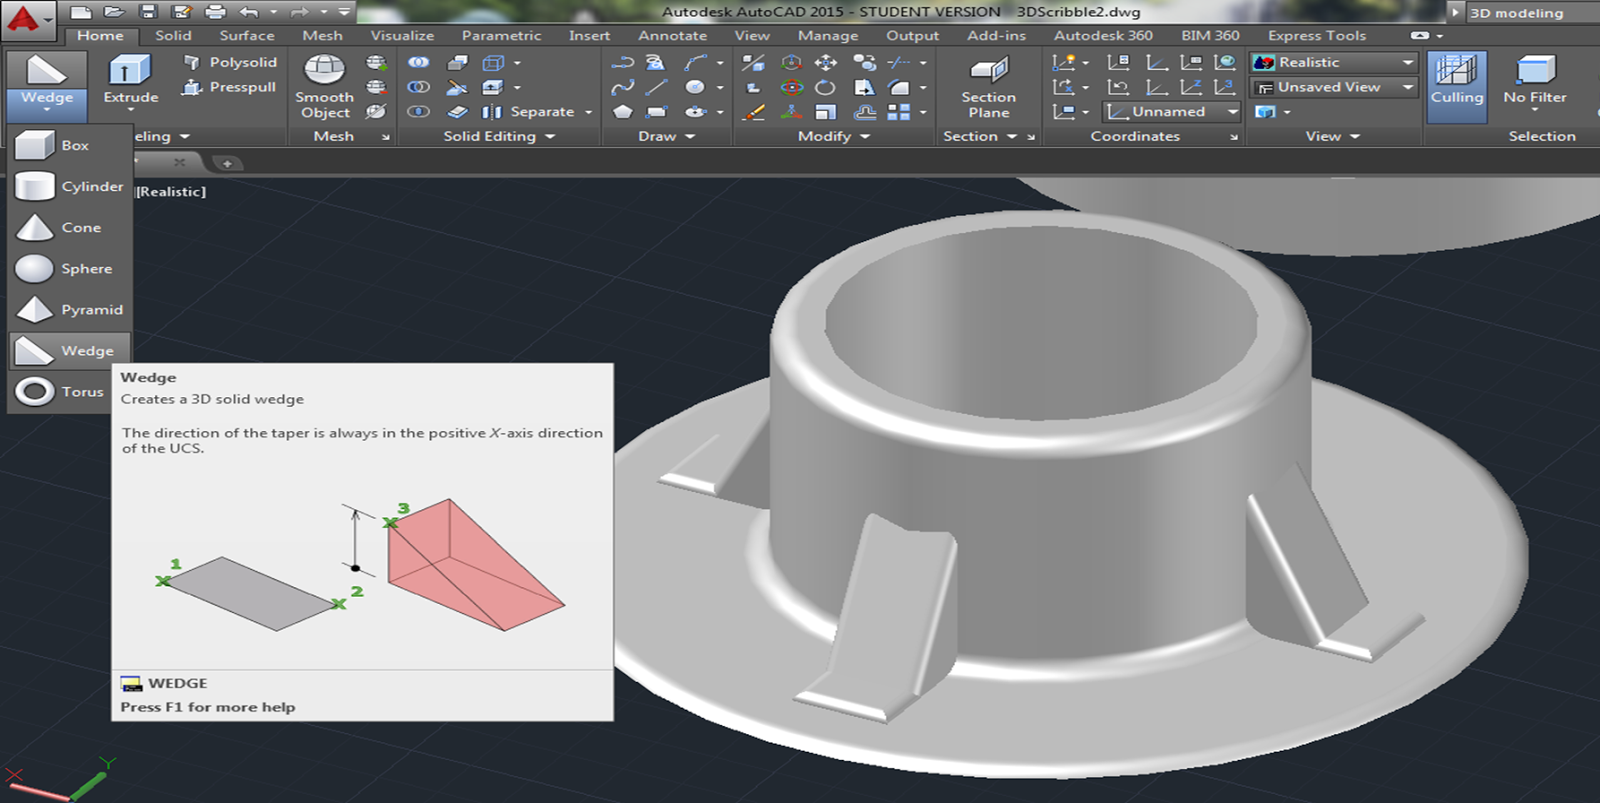
Play around with PressPull, and some of the different shapes like the wedge:
Experiment with the copy, mirror, move, and other commands in the ribbon:

Notes:
Start with a box:
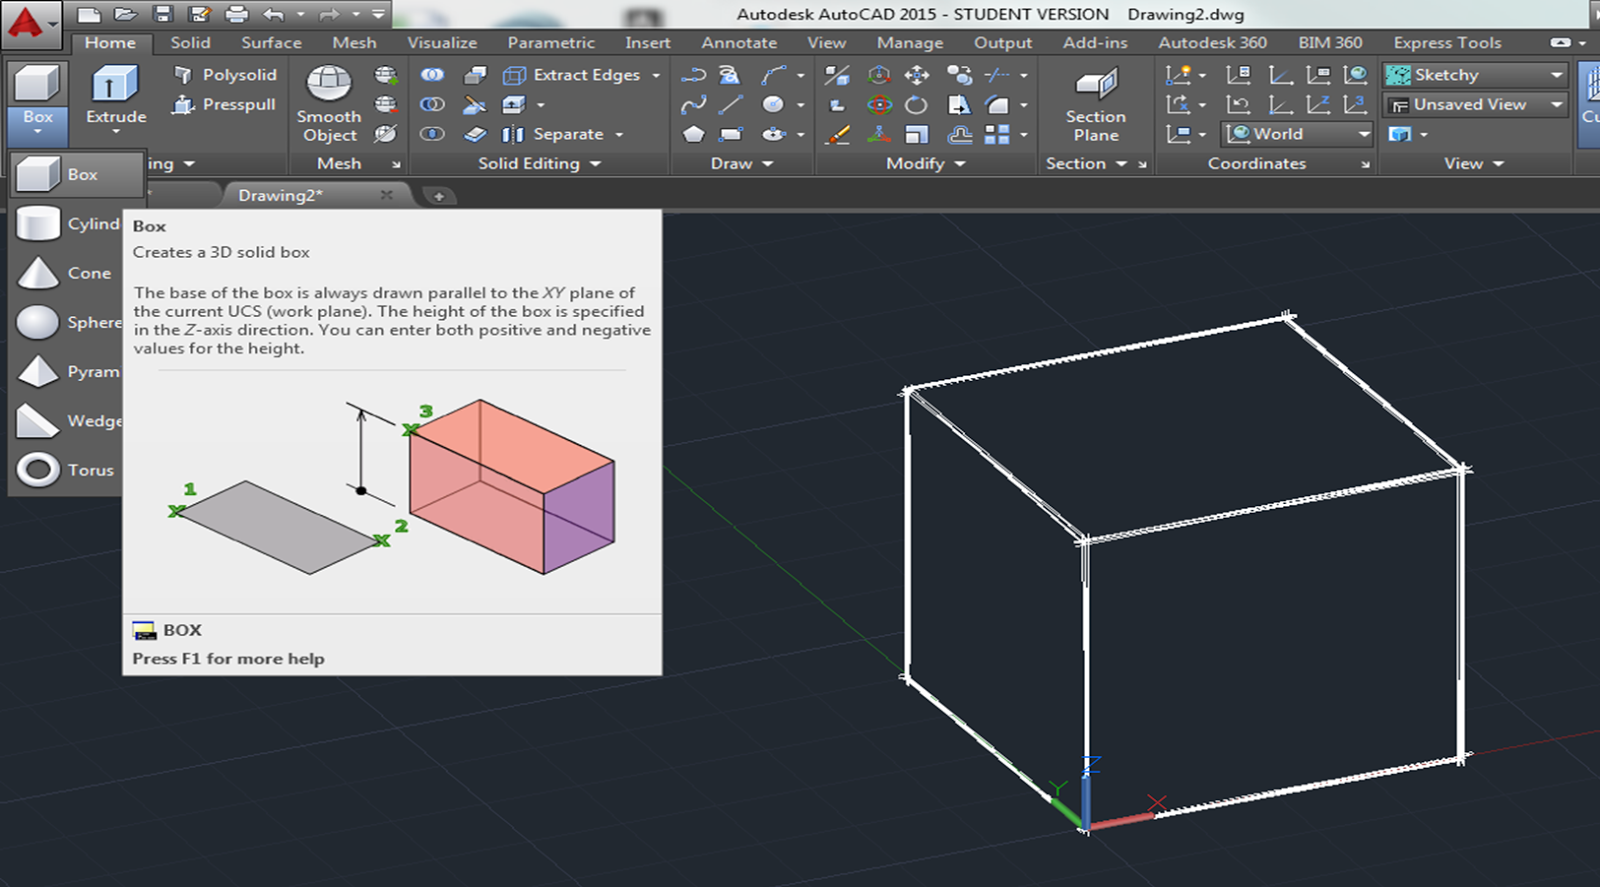
Notice that you can only draw on the (x,y) plane.
Type in UCS (User Coordinate System) and change your coordinates to a new location - so your (x,y) is on a new side of the box.

Draw some shapes on each of the sides of your box, get used to moving your UCS around.
Use "PressPull" to push the shapes through your box.


Experiment with all of the tools in the "Modify" and "Solid Editing" ribbon.
Once you have your scribble page checked off, and are familiar with the modeling, modifying, and editing features in the ribbon, create the 3D views of the worksheets from your book.
PG 111:
Draw it:

Open up a layout:
- Right click on a Layout
- choose template
- open up your title block
- fill in name, date, scale etc.
- delete your viewport window (you are left with just your piece of paper, nothing from model space)
VIEWBASE:
- choose <Model space>
- specify location (click on lower left hand corner of screen)

Pull out your top and side views:


Note:
You can either pull out the 3D iso view, or you can add a viewport window for your 3D view:
Just type "VIEWPORT" and draw a square where you want a viewport.
Dimension all of your views:

Try out pg 111, 113, 115, 117, and 119.
You will know that you drew them correctly if your VIEWBASE views agree with the textbook!
Your first test will be next week - I will have you create something similar to one of the worksheets in chapter 3. You will need to create the 3D model, add dimensions, place it with your title block, scale it correctly, and print it out.
If you are having trouble, watch some of the youtube tutorials!
No comments:
Post a Comment